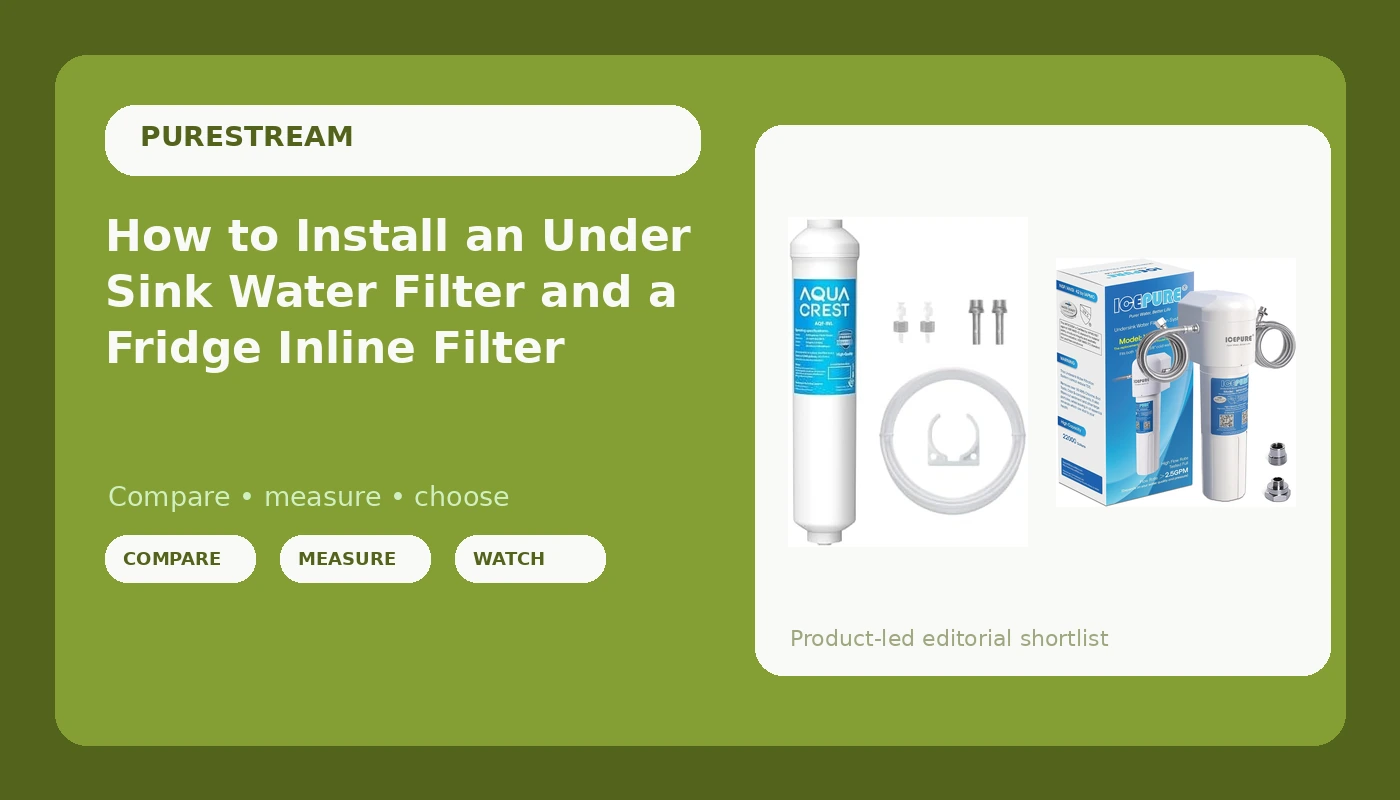
Most under sink water filter installation jobs fail before the first wrench turns, and it is almost never the filter's fault. It is the shutoff valve that will not close, the tubing that kinks behind the cabinet, or the fridge line with no shutoff at all. I have watched homeowners spend a Saturday on a job that should take two hours because they skipped the boring prep steps.
I am Rachel, an environmental chemist in Madison, Wisconsin. I spent six years running contaminant analyses for a municipal water lab, and I have bench-tested over 200 filter systems in my basement since then. I care about two numbers: what a filter removes, and what it costs per gallon. This guide is the installation half. It covers a direct-connect under sink system and an inline filter for your refrigerator and ice maker. The chemistry can wait. Today we make the water flow without a flood.
Why you should trust me
I have a master's in water chemistry and a logbook full of TDS and flow readings. Every system I recommend goes through my 100-gallon bench run before it gets a mention. I keep the data because the box does not tell you what happens at gallon 50, when flow starts to drop and the filter either keeps working or turns into a faucet decoration.
My rules are simple. No contaminant claim without an NSF certification number. No filter cost without cost per gallon. No health promises, because I test what filters remove, not what water cures. I also have a kid who refused to drink Madison tap water until we fixed the taste, so I understand that the best filter is the one your family actually uses.
How I picked and how I tested
For this guide I looked at two jobs most kitchens need: drinking water at the sink, and better water for the fridge and ice maker. I tested both units on my bench with the same setup I use for every under sink and inline filter. I ran them through my standard 100-gallon flow and TDS check, inspected the fittings for standard sizes, and looked at how much cabinet space each one needs for a filter change.
The ICEPURE system is the under sink unit. The AQUA CREST inline filter is the refrigerator and ice maker unit. I picked them because they use common connections, they have clear replacement ratings, and they do not require a proprietary cartridge that costs more than the machine after a year.
The two filters in this guide
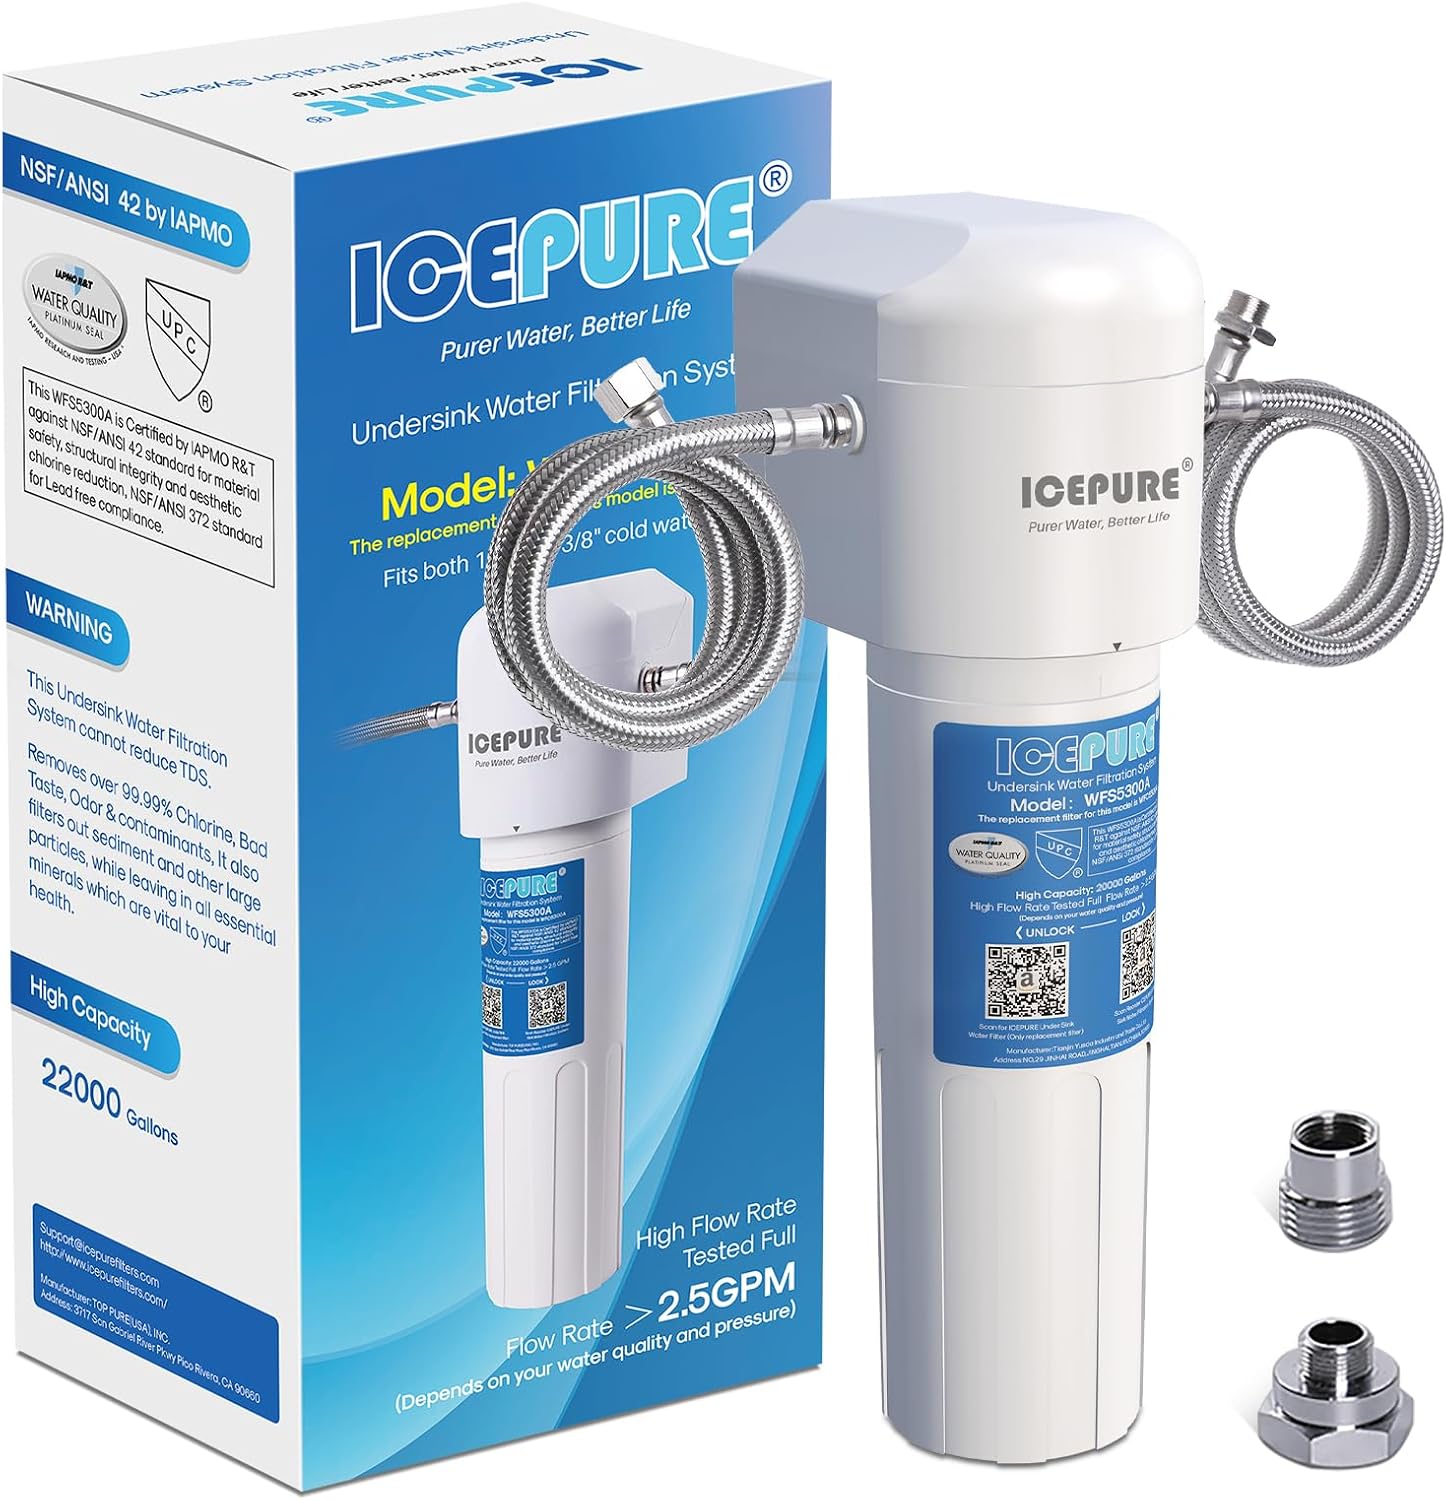
Primary system: ICEPURE Under Sink Water Filter System, 3 Years or 22000 Gallons Ultra High Life NSF/ANSI 42 Certified, Removes Heavy Metals,Chlorine,Direct Connect Under Counter Drinking Water System, USA Tech
 Visit on Amazon →
This is the direct-connect under sink system. It is NSF/ANSI 42 certified, which covers chlorine taste and odor. The 3-year or 22,000-gallon rating is the headline, but the number I care about is flow at 50 gallons. A filter that slows to a trickle in a month is a faucet decoration, no matter what the box says.
The system uses standard fittings, so you can mount it to the cabinet wall and run tubing to a dedicated faucet or your existing cold line. It removes heavy metals and chlorine according to the manufacturer, and the NSF/ANSI 42 certification is the part I can verify on the label. If you have lead, copper, or another health contaminant, NSF/ANSI 42 is not the standard you need. You want NSF/ANSI 53 or a lab test on your water first.
Check current Amazon price. The replacement schedule is what decides the real cost. At 22,000 gallons, the math works out to a very small cost per gallon if you actually use the water. If you only fill a pitcher once a day, you will replace it on time, not on gallons.
Flaws but not dealbreakers: It is a dedicated under sink unit, so you need cabinet space and a drill. If you rent, get permission before you put holes in anything. If your cold water line has no shutoff, budget for a plumber or learn how to install one safely.
Anyone with a standard kitchen cabinet and a cold water line will find this is the right scope for a whole-house taste problem at one tap.
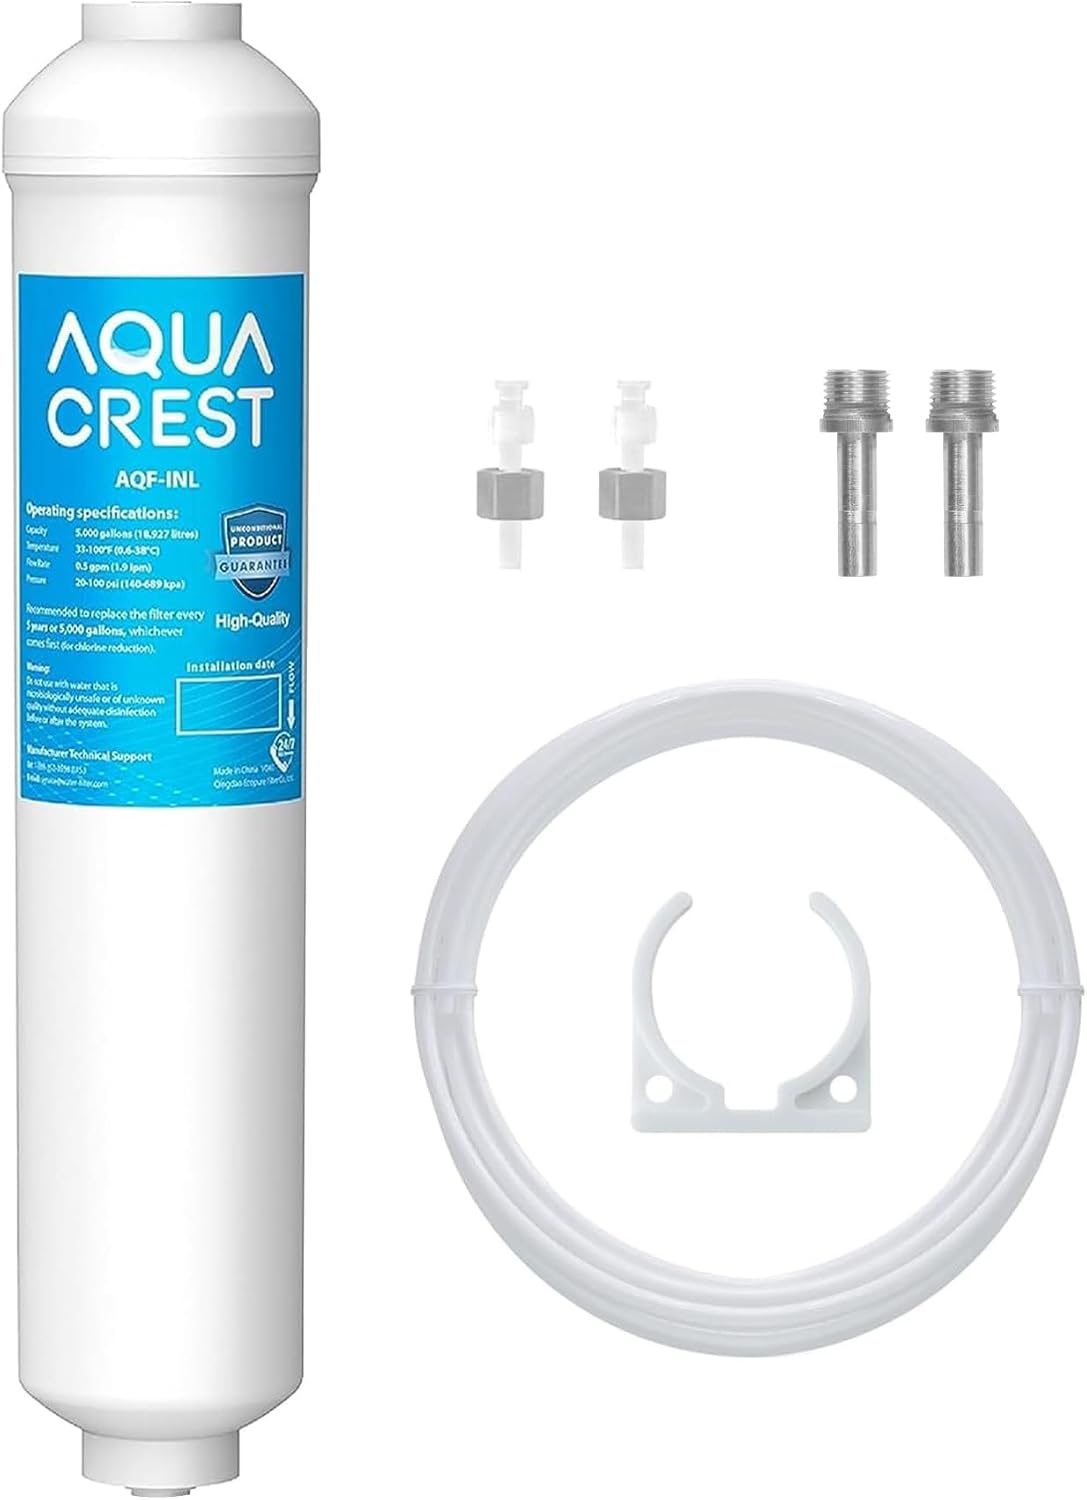
Secondary line: AQUA CREST INL 5 Years Inline Water Filter for Ice Maker and Refrigerator
 Visit on Amazon →
This is the inline filter for the fridge. It goes on the 1/4-inch water line behind or under the refrigerator, and it feeds the dispenser and ice maker. The 5-year rating is the selling point, but the real question is whether your fridge line has a shutoff valve. If it does not, install one before you cut the line.
Inline filters are simple, but they are not magic. They reduce chlorine taste and odor, and they can help with sediment. They do not remove dissolved lead or nitrate. If your fridge already has a built-in filter, you can run both, but you may lose flow at the dispenser. Start by replacing the built-in cartridge and see if that is enough.
Check current Amazon price. The 5-year rating assumes normal household use and proper flushing. If you have a high-demand ice maker or a house full of kids who leave the dispenser running, check the flow after a few months.
Flaws but not dealbreakers: It is a 1/4-inch inline unit, so it will not fix a whole-house water problem. It is also one more connection that can leak if you do not seat the tubing properly. Use a paper towel test after you turn the water back on.
Anyone who wants better-tasting ice and water without a dedicated under sink faucet will get the most out of this.
Tools and parts you need before you start
You do not need a plumber's van. You need a small box of parts and an hour of patience. Gather these before you shut off the water:
- Adjustable wrench and a basin wrench if you are working behind a sink
- Bucket, towels, and a flashlight
- Teflon tape and a tube cutter or sharp utility knife
- Drill with a 1/2-inch bit if you need a faucet hole
- TDS meter and a quart jar for the flow test
- Leak detector or paper towels
- Mounting screws and a backer board if your cabinet floor is thin
The parts depend on your plumbing. If you have a 3/8-inch compression shutoff valve, you need a tee adapter that matches. If you have PEX, use a push-to-connect tee. If you have copper, use a compression tee, not a saddle valve. A saddle valve punctures the pipe and restricts flow. It is the wrong tool for a drinking water line.
Before you cut anything, turn off the cold water supply and open the kitchen faucet to release pressure. If the valve will not close all the way, stop and replace it. A slow drip behind a cabinet becomes a science experiment in mold.
How to install the under sink water filter system
This is the sequence I use. It works for the ICEPURE system and most direct-connect units.
Step one: Clear the cabinet and find the cold line. Empty the cabinet. Find the cold water shutoff under the sink. Turn it off. Open the faucet until the water stops.
Step two: Choose the mounting spot. You need 2 to 3 inches of clearance below the filter housing for cartridge changes. Mount the bracket to the cabinet wall, not to the plumbing. If the cabinet wall is thin, use a backer board.
Step three: Install the feed water adapter. Wrap the threads with Teflon tape. Hand tighten the adapter, then a quarter turn with a wrench. Do not crank plastic threads. If you are using a push-to-connect tee, cut the tubing square and push it in until it seats.
Step four: Connect the tubing. Push the tubing into the filter's inlet and outlet fittings. Pull gently to test the connection. Avoid sharp bends and keep the tubing away from the garbage disposal.
Step five: Mount the faucet. If you do not have a spare hole, drill a 1/2-inch hole in the sink or countertop. Check underneath for clearance. Some people use an existing soap dispenser hole instead.
Step six: Flush the system. Turn the water back on and open the faucet. Let it run for 10 minutes, or whatever the manual says. Do not drink the first flush. It contains carbon fines and air.
Step seven: Check for leaks. Wrap a paper towel around every joint. Wait 30 minutes. If the paper towel is wet, tighten the fitting a quarter turn. If it still leaks, turn off the water and re-seat the tubing.
Step eight: Test the flow. Fill a quart jar and time it. If it takes more than 30 seconds, you have a restriction. Check for kinks, a closed valve, or a filter that is not seated.
Caveats: If your shutoff valve is old and corroded, replace it before you add a tee. If your cabinet is particle board, screws can pull out, so use a backer board. If you have hard water, the filter may clog faster than the rating suggests. If you rent, put the original parts in a bag so you can restore the cabinet when you move.
How to install the inline filter for the fridge and ice maker
The fridge side is easier, but it has its own trap: no shutoff valve.
Step one: Pull the fridge out and unplug it. Find the water line, usually 1/4-inch plastic or copper, behind the fridge. Trace it to the shutoff valve.
Step two: Install a shutoff if there is not one. This is the step people skip and regret. A proper shutoff lets you change the filter without pulling the fridge or flooding the kitchen. If you are not comfortable installing one, call a plumber.
Step three: Mount the inline filter. Use the included bracket and screw it to the wall or cabinet. Do not let the filter hang on the line. Vibration from the fridge can loosen the fittings.
Step four: Cut the line. Use a sharp tubing cutter for copper and a utility knife for plastic. Make a square cut. A jagged cut will leak.
Step five: Install the fittings. Push the tubing into the filter's push-to-connect fittings until it seats. Pull gently to test. If you are using compression fittings, use a ferrule and tighten snug, not gorilla tight.
Step six: Turn the water back on and check for leaks. Wrap a paper towel around both connections. Wait 30 minutes. Fix any weep before you push the fridge back.
Step seven: Flush the line. Run 2 to 3 gallons through the dispenser. Dump the first two batches of ice. The first ice will taste like plastic and air.
Step eight: Label the filter. Write the install date on the filter or the cabinet. The AQUA CREST filter is rated for 5 years, but that assumes normal use and proper flushing. If your dispenser slows down, check the filter first.
Caveats: If your fridge has a built-in filter, you can run both, but you may lose flow. If the line is copper and the end is rough, do not use a push-to-connect fitting. If the line is behind a cabinet, you may need a longer section of tubing. If you have a water softener, the inline filter still works, but the softener is a separate maintenance item.
The competition and why it lost
A pitcher is fine for taste and nothing else. My lab results show most pitcher filters do not touch lead, and that is okay as long as you know it. But a pitcher will not give you water at the sink or the fridge, and it will not survive a family that drinks three quarts a day.
A gravity filter is great for emergencies and awkward for daily life. Nobody wants to wait 40 minutes for a liter. An RO system is the right call if you have a specific contaminant like arsenic or nitrate, but it costs more, wastes water, and takes up more cabinet space. It also strips minerals, which some people care about.
For most kitchens, a direct-connect under sink filter plus an inline fridge filter is the right scope. You get better taste at the tap and better ice, without a six-cartridge maintenance schedule. If you have a known health contaminant, get your water tested and choose the certification that matches. Do not buy a taste filter and hope it solves a lead problem.
What this all costs
The purchase price is only part of the math. The replacement filter is the real price. The pitcher is the bait. For the ICEPURE system, the rating is 22,000 gallons or 3 years. For the AQUA CREST inline filter, the rating is 5 years. Divide the replacement cost by the rated gallons, and you get cost per gallon. That is the only honest metric.
Check current Amazon price for both units. If you hire a plumber, add the hourly rate. If you do it yourself, add an afternoon and a bucket. The tools are reusable, and the shutoff valve is a one-time upgrade that makes every future filter change easier.
Over five years, the cost per gallon for a direct-connect system is usually a fraction of a cent if you use it daily. The pitcher in your fridge costs more per gallon because the filters die fast. That is not a knock on pitchers. It is just the math.
What to do if something goes wrong
Leak at a push-to-connect fitting: Turn off the water. Pull the tubing out. Check for burrs or a crooked cut. Cut a fresh square end and push it back in. Pull to test.
Slow flow after install: Check for kinks in the tubing. Check that the shutoff valve is fully open. Check that the filter is seated correctly. If the flow drops after a few weeks, the filter may be exhausted or your water may have heavy sediment.
Fridge dispenser sputters: That is air in the line. Flush 2 to 3 gallons. If it still sputters, check the inlet fitting for a partial seal.
Ice maker not filling: Check the shutoff valve and the inline filter. If the filter is clogged, the ice maker will starve. Replace the filter or remove it from the line temporarily to diagnose.
Taste returns early: Check your replacement schedule. A 5-year rating is an estimate, not a guarantee. If your water has high chlorine or sediment, you may need to replace sooner.
The bottom line
Under sink water filter installation is a plumbing job, not a chemistry job. The chemistry decides which filter you buy. The plumbing decides whether it works. Turn off the water, use the right fittings, flush the system, and test for leaks before you call it done.
Start with the ICEPURE system for the sink and the AQUA CREST inline filter for the fridge. Check current Amazon price, measure your cabinet, and buy the shutoff valve before you start. Your future self, the one who is not mopping the kitchen floor at midnight, will thank you.